
Welcome to our comprehensive step-by-step tutorial on how to draw a bicycle! Whether you’re an artist looking to enhance your skills or a beginner wanting to learn a new subject, this guide will provide you with detailed instructions to help you sketch a bike accurately. We’ll cover the essential tools you’ll need, the main parts of the bicycle, video tutorials for additional guidance, how to get feedback, and even software for your drawings. Let’s get started!
How Do I Draw a Bicycle?
What Tools Do I Need to Draw a Bike?
To draw a bicycle, you don’t need a vast array of tools. All you need are some basic supplies: a pencil, an eraser, some paper, and a ruler to help you draw straight lines. You may also find a compass useful for drawing perfect circles for the wheels. For more detailed sketches, some artists prefer fine-tip pens or markers to outline the final drawing. Additionally, having access to online resources like YouTube can provide you with useful video tutorials to follow along.
What Are the Key Steps to Draw a Bicycle?
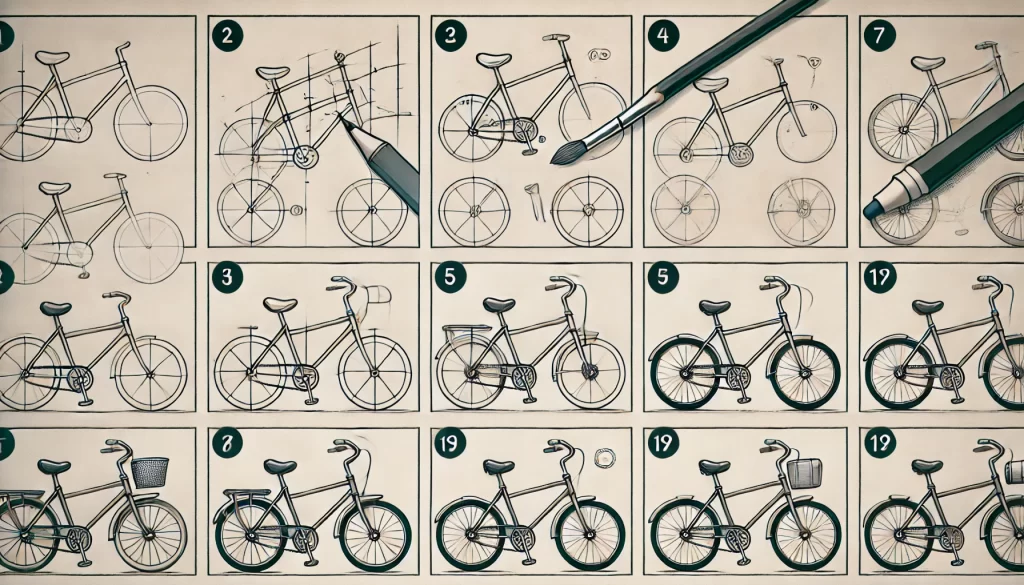
Starting with the wheels is crucial when you draw a bicycle. First, draw two circles on your paper where you want the front and back wheels to be. These will serve as the foundation for the rest of the bike. Next, sketch the diamond frame by connecting the wheels with straight lines; this is often the most intricate part of the bike drawing because it determines the bike’s proportions. Afterward, add the smaller details like the handlebars, seat (saddle), pedals, and chain. Make sure to check every step to ensure the proportions are accurate.
How Do I Ensure Proportions in My Bicycle Drawing?
Proportion is key to making your bike look realistic. When drawing a bicycle, start with the largest parts, such as the wheels, and use a ruler to draw parallel and straight lines for the frame. To maintain balance, you can draw a rough skeleton of the bike with light lines first and refine them as you go. Dividing your bicycle drawing into manageable parts and consistently checking your work against reference images can help you achieve accurate proportions.
What Are the Main Parts of a Bicycle that Need to Be Drawn?
How to Draw the Wheels of a Bicycle
Drawing the wheels is the first and most crucial step in your bike drawing. Begin by using a compass to create perfect circles for both the front and back wheels. To add more detail, include the spokes and circles within the wheels. Wheels should be identical in size to ensure the bicycle appears balanced.
How to Draw the Frame of a Bicycle
The frame of the bicycle is next. Most bikes have a diamond frame formed by two triangles. Start by drawing two triangles connecting the wheels, using straight lines for the edges. Ensure that the top and bottom bars are parallel to give the frame stability. Remember, the frame should be proportionate to the wheels.
How to Draw the Gear and Pedals
To draw the gear and pedals, start by sketching a small circle where the pedals will attach. Draw the chain ring and gears in detail, showing the teeth and connections. Next, add the pedals extending from the center of the circle. Make sure the pedals are aligned parallel to each other, ensuring the geometry reflects a real bike’s anatomy.
Are There Any Video Tutorials to Help Draw a Bicycle?
Where Can I Find YouTube Tutorials to Draw a Bicycle?
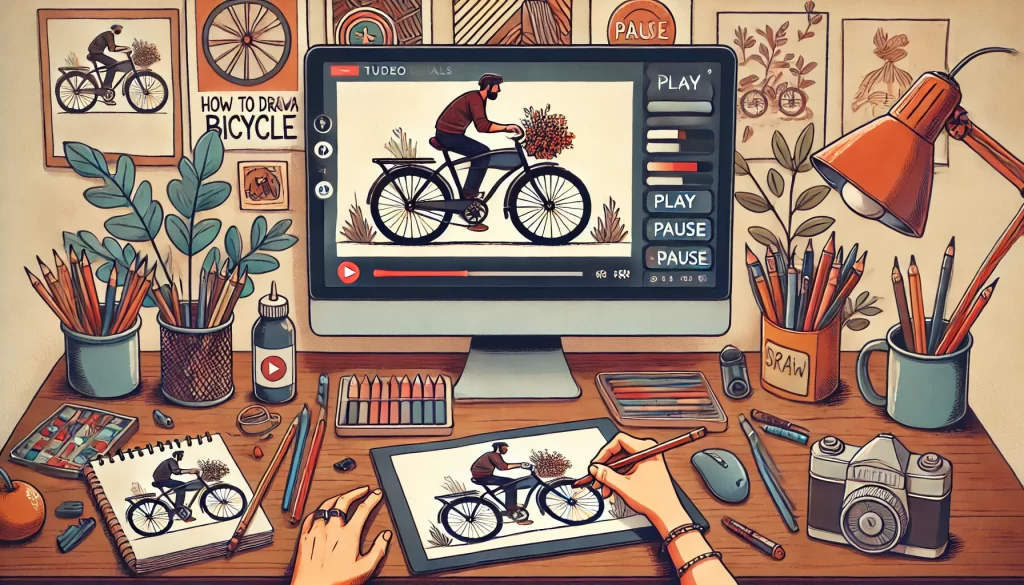
YouTube is an excellent resource for finding video tutorials on how to draw a bicycle. Searching for “draw a bicycle” or “step-by-step bicycle drawing tutorial” will yield numerous results. Channels dedicated to art lessons will often have detailed videos, and you may even find some creators who specialize in drawing bikes. Don’t forget to subscribe to your favorite channels to continue receiving similar content.
What Should I Look for in a Good Drawing Video?
When selecting a YouTube tutorial, look for videos that offer detailed, step-by-step instructions. Check the video’s description and transcript for key moments and instructions. Good tutorials will often break down the drawing process into easy, manageable steps, and the artist will explain each part of the bike drawing thoroughly. It’s also beneficial if the video allows you to see every detail of the drawing process up close.
Can I Follow Along with a Transcript of the Video?
Many YouTube drawing tutorials include a transcript, which can be a valuable resource. The transcript allows you to follow along at your own pace and helps ensure you don’t miss any details. Some videos also include on-screen text summarizing each step, making it easier to log information and replicate the process.
Can I Get Feedback on My Bicycle Drawing?
How to Share My Drawing for Comments
Sharing your bicycle drawing for feedback is a great way to improve. Platforms like Instagram, online art communities, and specialized forums allow you to post your art and receive comments. When sharing your work, make sure to add hashtags like #bikedrawing or #drawabicycle to reach a broader audience and get more engagement. However, ensure your privacy settings are adjusted appropriately.
What Are Common Mistakes When Drawing a Bicycle?
Common mistakes include incorrect proportions, such as misaligned wheels or an unfitting frame. Another frequent issue is overcomplicating the drawing before the basic shapes and structures are in place. Beginners often struggle with capturing the correct angles and details like spokes or chain gear. Avoiding these mistakes by checking each part of your drawing against a reference image can help improve your accuracy.
How to Improve My Bicycle Drawing Skills
The best way to improve your bicycle drawing skills is through practice and feedback. Regularly sketching different types of bikes from various angles will enhance your understanding of bike proportions and details. Watching more tutorial videos and seeking constructive criticism of your work will also aid in your development. Joining art classes or workshops can provide structured learning and professional advice to refine your skills further.
How Can I Use Software to Draw a Bicycle?
What Software is Recommended for Drawing a Bicycle?
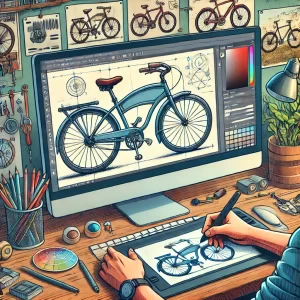
There are several digital art software options you can use to draw a bicycle. Adobe Illustrator and CorelDRAW are excellent for creating vector drawings, which allow for precise adjustments and scale changes without losing quality. For those on a budget, free software like Inkscape offers robust features for digital drawing.
How to Use Software to Draw Various Angles of a Bicycle
One of the advantages of digital drawing software is the ability to work with layers and adjust your sketches easily. Start by creating basic shapes for the wheels and frame. Software tools can help you duplicate and rotate objects to draw the bicycle from different angles, ensuring consistent proportions and angles. Using tools like the pen or curvature tool can help you replicate the bike’s curves accurately.
How to Add Details like Spokes and Saddle in Drawing Software
Adding intricate details like spokes and the saddle is simplified with digital tools. You can use the symmetry or repeat functions to draw evenly-spaced spokes on the wheels. For the saddle, use the shape and pen tools to outline and fill the saddle, ensuring it aligns well with the frame. Adding multiple layers for different parts of the bike allows you to make detailed adjustments and corrections easily.
We hope this step-by-step tutorial has demystified the process of drawing a bicycle and encouraged you to pick up your tools and start sketching. Happy drawing!